New in this edition
- Carriers and Custom Carrier Fees now live in Settings → Fees & Commission, below the fee and tax settings. The New Payment gear icon opens this tab.
- Payment History → Edit corrects saved payment details and amounts, with saved changes verified and recorded in Activity Logs.
- Repair → Edit corrects customer and device details, including IMEI/serial numbers. Updated details appear in the table and new receipt previews.
- Activity Logs show new bill payments with their receipt number, carrier, phone, total, and payment method. Edit entries show Before / After values.
- 80 mm receipt paper is the default; customer receipts, store receipts, and phone stickers have separate print actions.
- This edition also covers custom carrier fees, CellSmart imports, retail/wholesale customer separation, managed SMS, store access, data export, and payroll.
Screenshots in the updated sections show a local training store with sample records. Names, amounts, and available options in your store may differ.
What is PhonePOS?
PhonePOS is a complete point-of-sale and store management platform for phone stores. It helps you:
- Sell phones, accessories, and services (POS)
- Track inventory and IMEI numbers
- Manage customer repairs and layaways
- Handle wholesale accounts
- Run reports and manage your cash drawer
- Track who did what with Activity Logs
System Requirements
| Requirement | Details |
|---|---|
| Browser | Chrome, Edge, or Safari (latest versions recommended) |
| Device | Desktop, laptop, or tablet |
| Internet | Required for real-time sync (limited offline mode available) |
| Printer | Optional — for receipts and repair labels |
Creating Your Account
- Go to https://phonestore-pos.com/signup
- Fill in the form:
- Name: Your full name
- Email: Your business email (used for login and receipts)
- Password: At least 6 characters
- Store Name: Your store's name (appears on receipts)
- Store Address: Your store's physical address
- Phone: Your contact number
- Click "Create Account"
- You'll be taken to your new store dashboard
Tip: Your first login creates your store automatically. You can add more stores later.
Trial and country setup
New accounts receive a 14-day trial. Complete the Setup Guide on your dashboard to prepare fees, inventory, imports, and printers. When the trial ends, choose a subscription in Settings → Billing to continue operating; trial expiry does not automatically delete your imported records.
Choose United States or Canada for your store. The country controls the store currency, locale, timezone, default carrier list, and initial tax settings. If you later change Country in Settings → General, review the confirmation carefully: default carriers and tax settings change too. Check Fees & Commission afterward and save the settings appropriate for your store.
Logging In
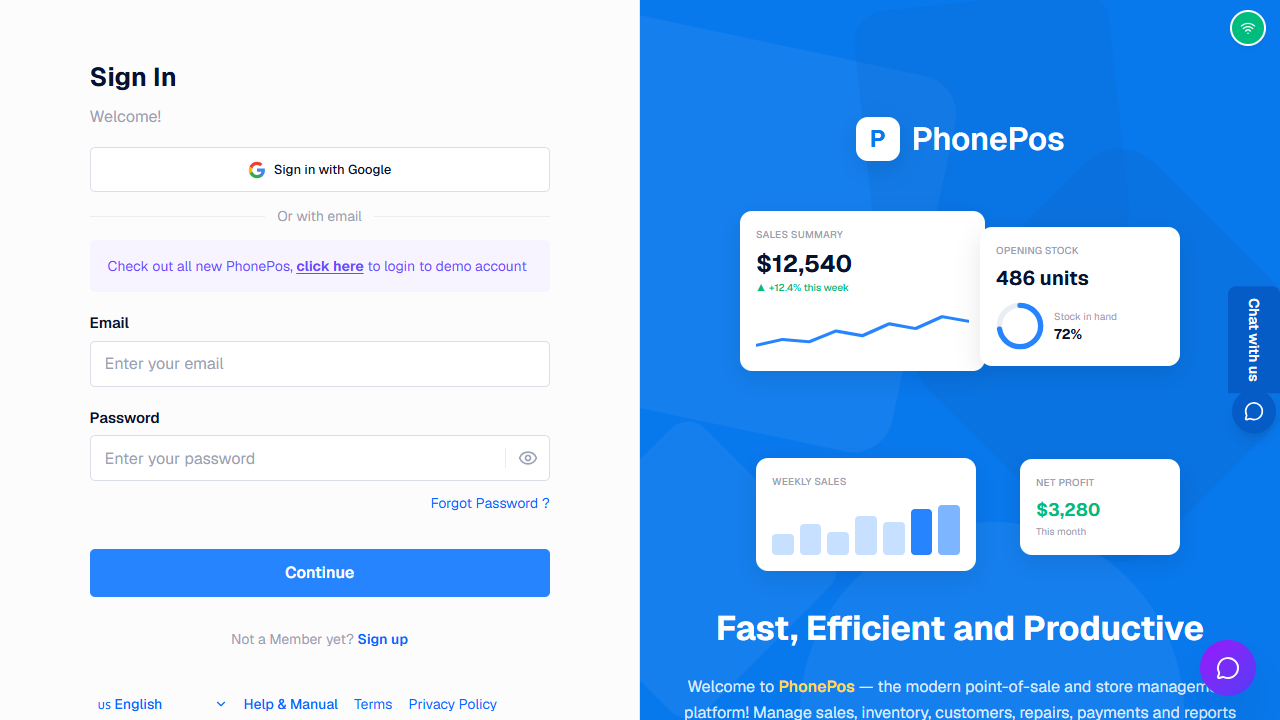
Email & Password:
- Go to https://phonestore-pos.com/login
- Enter your email and password
- Click "Continue"
Google Sign-In:
- Click "Sign in with Google"
- Choose your Google account
- You'll be logged in automatically
Demo Account:
- Click "click here to login to demo account" on the login page
- This opens a fully-featured demo store with sample data
- Demo data resets automatically every 24 hours
Quick PIN (faster sign-in on a trusted device)
After signing in normally, you can turn on Quick PIN from Settings → Quick PIN. On that device, PhonePOS then shows a full-screen PIN screen next time you open it, so you only need to enter a 5-digit PIN instead of your email and password.
- Quick PIN is tied to the specific device/browser where you enabled it. A new device, a reinstall, or cleared browser data means you must enable it again.
- You can always fall back to Login by email on the PIN screen.
- Use Forgot PIN? on the PIN screen to reset it (a reset link is emailed to your account address), and manage or remove trusted devices from Settings → Quick PIN.
See Settings → Quick PIN → What is PIN Login? for a full description of the PIN sign-in screen.
Your First 5 Minutes
After logging in, you'll see the Dashboard. Here's what to do first:
- Add your first product — Go to Inventory → Click "Add Product"
- Make a test sale — Go to POS Sales → Click a product → Complete a payment
- Explore the sidebar — See all the sections available
- Set up your receipt printer — Go to Settings → Print & Hardware
- Add a user — Go to Settings → Users (if you have employees)
- Turn on Quick PIN — Go to Settings → Quick PIN → click Enable Quick PIN and set a 5-digit PIN. This lets you sign in on this device with just your PIN next time (see Settings → Quick PIN → What is PIN Login?).