PhonePOS User Manual
Chapter 1 of 20
What is PhonePOS?
PhonePOS is a complete point-of-sale and store management platform for phone stores. It helps you:
- Sell phones, accessories, and services (POS)
- Track inventory and IMEI numbers
- Manage customer repairs and layaways
- Handle wholesale accounts
- Run reports and manage your cash drawer
- Track who did what with Activity Logs
System Requirements
| Requirement | Details |
|---|---|
| Browser | Chrome, Edge, or Safari (latest versions recommended) |
| Device | Desktop, laptop, or tablet |
| Internet | Required for real-time sync (limited offline mode available) |
| Printer | Optional — for receipts and repair labels |
Creating Your Account
- Go to https://phonestore-pos.com/signup
- Fill in the form:
- Name: Your full name
- Email: Your business email (used for login and receipts)
- Password: At least 6 characters
- Store Name: Your store's name (appears on receipts)
- Store Address: Your store's physical address
- Phone: Your contact number
- Click "Create Account"
- You'll be taken to your new store dashboard
Tip: Your first login creates your store automatically. You can add more stores later.
Logging In
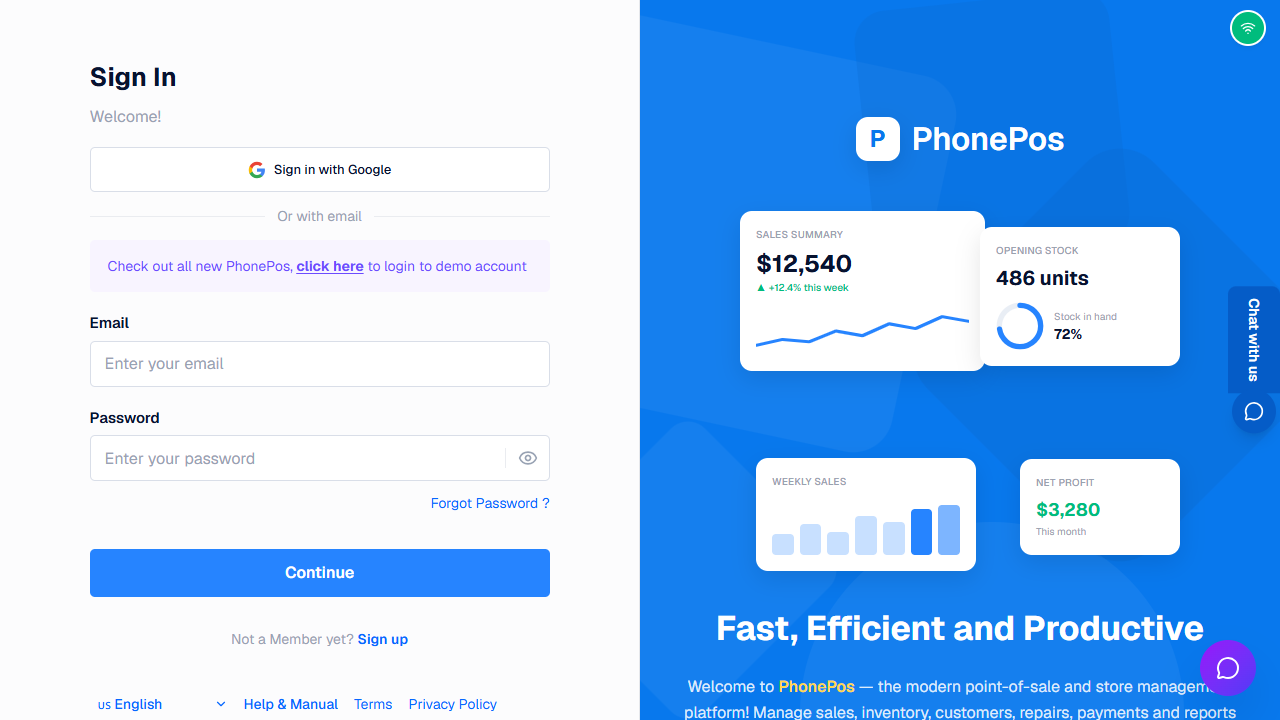
Email & Password:
- Go to https://phonestore-pos.com/login
- Enter your email and password
- Click "Continue"
Google Sign-In:
- Click "Sign in with Google"
- Choose your Google account
- You'll be logged in automatically
Demo Account:
- Click "click here to login to demo account" on the login page
- This opens a fully-featured demo store with sample data
- Demo data resets automatically every 24 hours
Quick PIN (faster sign-in on a trusted device)
After signing in normally, you can turn on Quick PIN from Settings → Quick PIN. On that device, PhonePOS then shows a full-screen PIN screen next time you open it, so you only need to enter a 5-digit PIN instead of your email and password.
- Quick PIN is tied to the specific device/browser where you enabled it. A new device, a reinstall, or cleared browser data means you must enable it again.
- You can always fall back to Login by email on the PIN screen.
- Use Forgot PIN? on the PIN screen to reset it (a reset link is emailed to your account address), and manage or remove trusted devices from Settings → Quick PIN.
See Settings → Quick PIN → What is PIN Login? for a full description of the PIN sign-in screen.
Your First 5 Minutes
After logging in, you'll see the Dashboard. Here's what to do first:
- Add your first product — Go to Inventory → Click "Add Product"
- Make a test sale — Go to POS Sales → Click a product → Complete a payment
- Explore the sidebar — See all the sections available
- Set up your receipt printer — Go to Settings → Print & Hardware
- Add a user — Go to Settings → Users (if you have employees)
- Turn on Quick PIN — Go to Settings → Quick PIN → click Enable Quick PIN and set a 5-digit PIN. This lets you sign in on this device with just your PIN next time (see Settings → Quick PIN → What is PIN Login?).